In this guide we will show you how to setup a Windows VPN Server.
In this example we will be using Server 2016 but this should apply to all recent Windows Server versions.
1). Open TCP port 1723 and allow GRE in your firewall
2). Login to the Server with RDP
3). Go to Server Manager > Manage > Add roles and features
4). Click Next > Next > Next > Select Remote Access > Next > Next > Next
5). Select Direct Access and VPN and also select Routing > Add Features > Next > Next > Next > Install
6). After the installation completes click on Close and go back to Server Manager.
7). Click on Remote access > Right-click your Server name and click Remote Access Management.
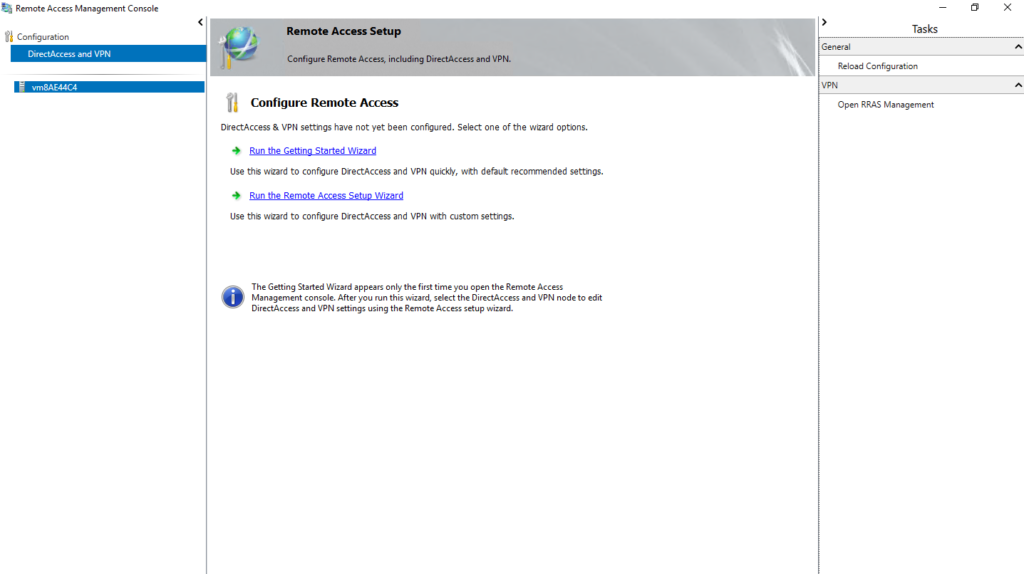
8). Click Direct Access and VPN > Click Open RRAS Management
9). Right-click Server name and click Configure and Enable Routing and Remote Access.
10. Click Next > Custom Configuration > Select VPN Access & NAT > Finish > Start Service
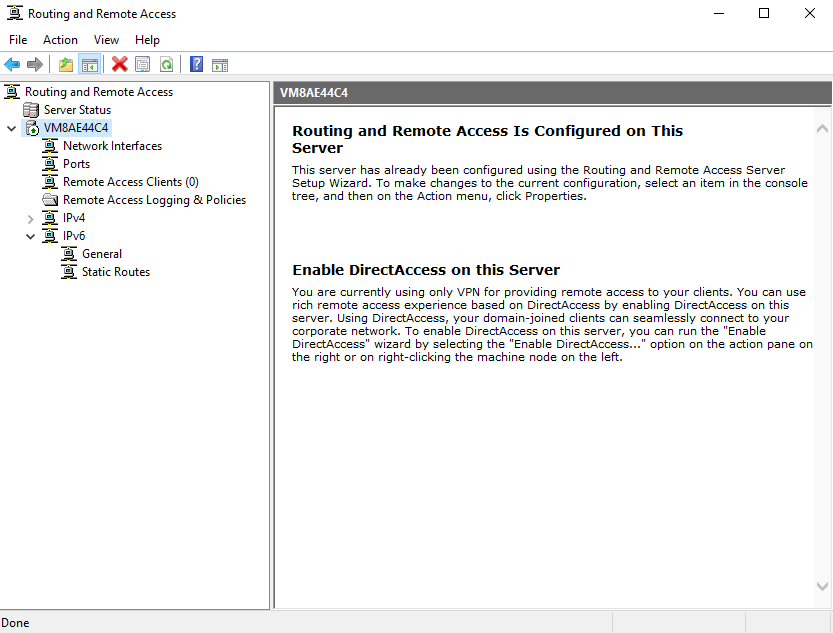
11). Right-click Server name and click Properties.
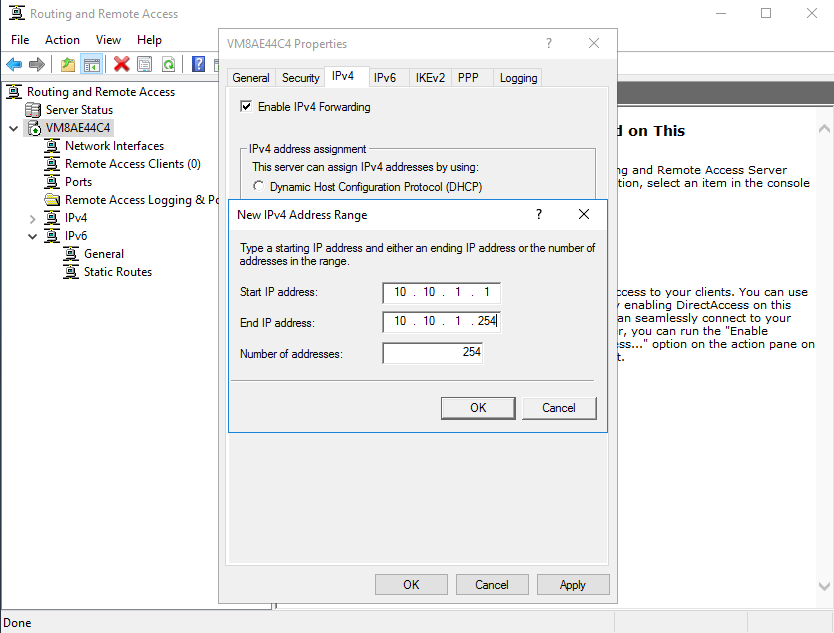
12). Go to the IPv4 tab and select Static Address pool > Add
13). Fill this in for the local IP range you want, or reference the screenshot below as an example then click Ok.
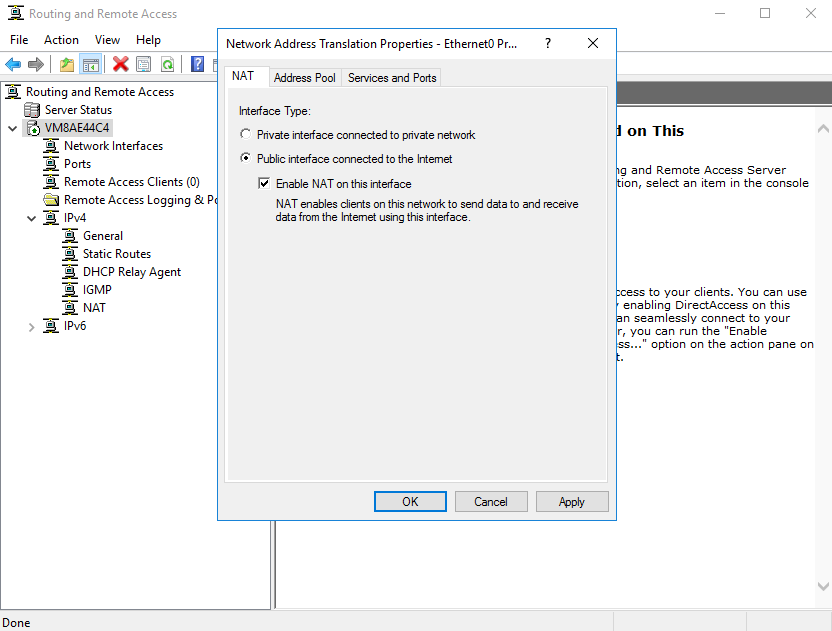
14). In the Routing and Remote Access window expand IPv4 and Right-click NAT.
15). Click New Interface > Select Ethernet 0. Select Public Interface connected to the internet and also select Enable NAT on this interface.
16). Now the VPN Service has been enabled, but we still need to allow user access. Please close the Routing and Remote Access Window.
17). Open Windows Control Panel > Administrative tools > Computer Management
18). Local Users and Groups > Users > Right-click Administrator > Properties
19). Click on the Dial-in tab and select Allow Access under Network Access Permission > Click Ok

20). Now we will configure our local Windows PC to connect to the new VPN Server.
21). Open Windows Control Panel > Network and Sharing Center > Setup a new Connection or Network > Connect to a workplace.
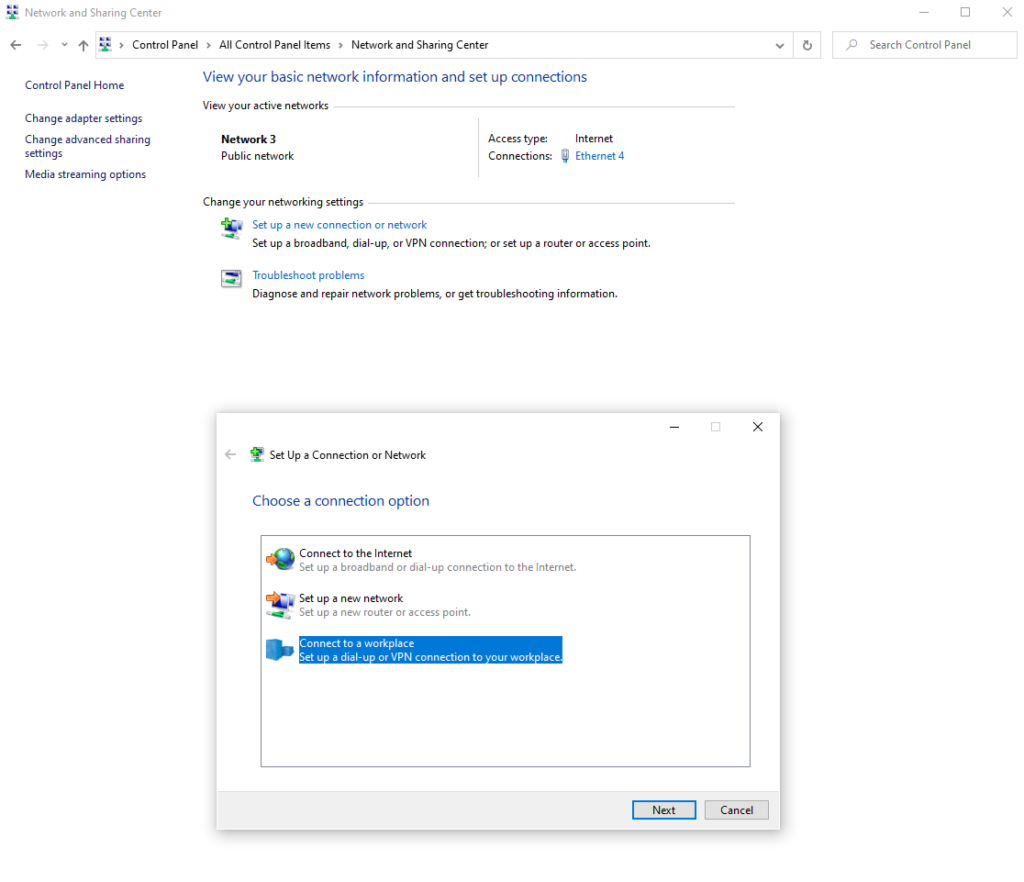
22). Use my Internet Connection (VPN).
23). Fill in the Internet Address with your Server’s IP > Create.
24a). If you are using Windows 10 go to Settings > Network & Internet > VPN > Select VPN Connection > Connect.
24b). If using a Windows client older than Windows 10 you will now see a new connection in your Network Adapters. Right-click the VPN Connection you created and click Connect.
Now that you are connected you will see that your IP reported to websites and apps now show as your Server’s IP.
Something to be aware of that depending on the distance from your PC to your server your bandwidth will be less than the server is capable of.
For example from the server you will see a full 400mbps is available.

But when connecting using your VPN you will instead see speeds similar to the screenshot below.

This speed is completely normal and expected.
You have made some decent points there. I checked on the net to learn more about the issue and found most people will go along with your views on this website.|
I don’t even know how I stopped up here, but I believed this publish used to be good. I don’t recognise who you’re however certainly you are going to a famous blogger in case you are not already. Cheers!|
Good web site you have got here.. It’s difficult to find excellent writing like yours these days. I seriously appreciate individuals like you! Take care!!|
Hi friends, its great piece of writing about cultureand completely defined, keep it up all the time.|
Your way of describing everything in this post is genuinely nice, all can without difficulty be aware of it, Thanks a lot.|
Wow, wonderful blog layout! How long have you been blogging for? you make blogging look easy. The overall look of your site is great, let alone the content!